Get your home ready for spring with one of my favorite DIY home decor crafts!
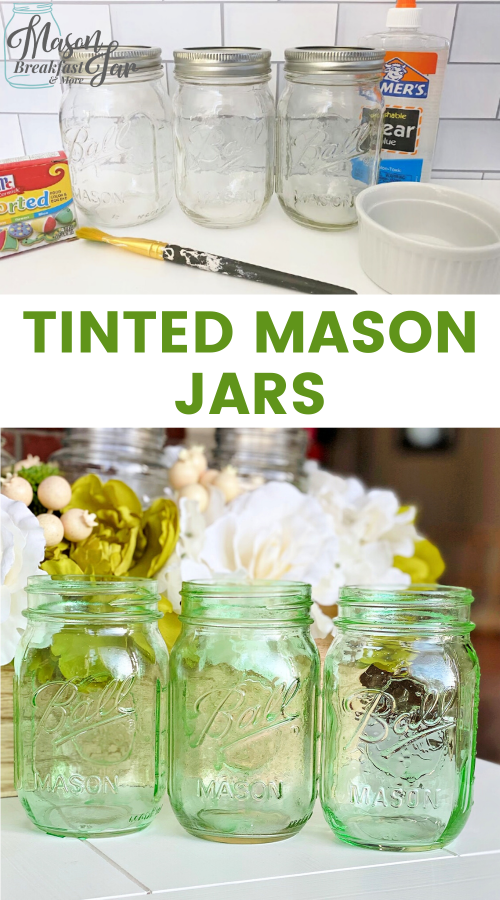

DIY Home Decor Crafts: Tinted Mason Jars
I love any excuse to decorate my home! (That means seasons, holidays, birthdays, special occasions: you name it, I’ve created home decor for it!) However, just because I love home decor doesn’t mean that I want to break the bank.
Enter: DIY home decor crafts!
DIY crafts are great for home decor because they are fun to make and easy on the wallet–meaning you can afford to go a little crazy 🙂
As I said before, you don’t need to tell me twice to get to crafting: I’ve made so many DIY crafts for the home for all sorts of occasions:
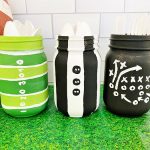
- Mason Jar Football Centerpieces (great for game days, Superbowl parties, etc.)
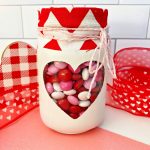
- DIY Valentine Gift: I Love You Mason Jar Flowers Centerpiece (perfect as a gift or for your own kitchen or dining room table)
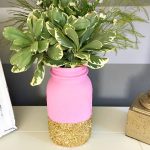
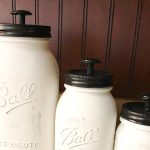
- Easy DIY Mason Jar Canisters (cute and functional–use them as DIY kitchen decor or as cookie jars, flour & sugar canisters, bath salt jars, and more)
- Christmas Mason Jar Centerpiece (a beautiful DIY centerpiece that is sure to impress your guests, as well as a thoughtful gift—perfect for farmhouse Christmas decor!)
Anchor: farmhouse Christmas decor
- Fall Mason Jar Centerpiece (celebrate the fall season with this fun and festive centerpiece!)
- Mason Jar Centerpiece for Wedding or Home (a lovely centerpiece for a wedding, garden party, or other special event!)
That said, out of all my DIY decor ideas, this next one is one of my favorites. It’s incredibly easy, even for a home decor craft, with literally three steps. Yes, three quick and easy steps are all that stand between you and this fun and pretty DIY home decor idea!
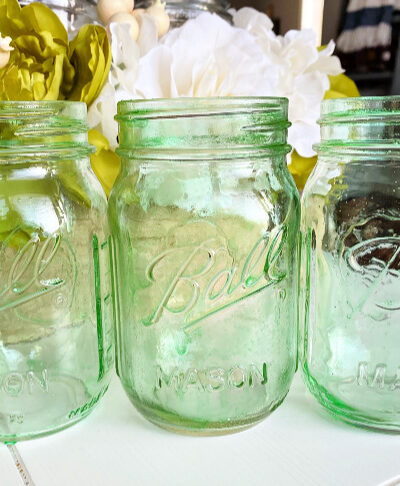
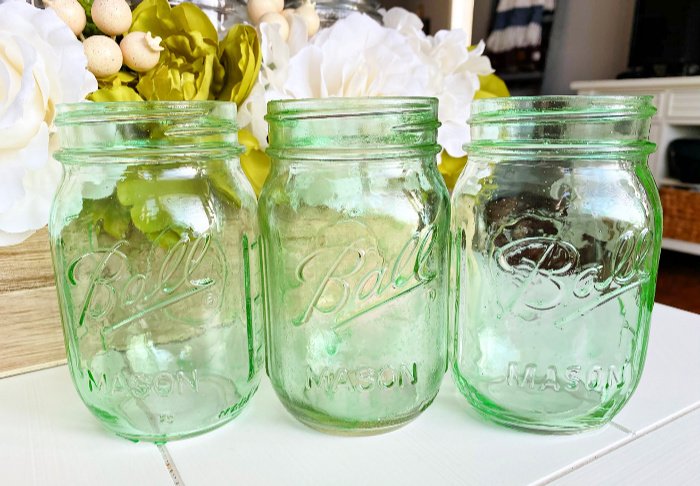
At the end of the tutorial, you’ll have beautifully colored, vintage-inspired tinted Mason jars that will work for all sorts of things. Use it:
- As a dining room centerpiece (with some fresh-cut or silk flowers!)
- As fun kitchen storage (for cookies, crackers, spices, wooden utensils, etc.)
- As bathroom storage (get rid of those old plastic containers!)
What’s more, this DIY home decor craft is very customizable. I used green food coloring because it reminds me of lovely, “old-timey” vintage glass bottles, and green is the perfect color for spring. However, you can use any color you prefer and match the decor of the rest of your home! With the help of a color wheel or a little experimentation, you can also easily mix your own colors in order to get a custom color! Pair your finished jars with fresh flowers, rustic wood accents, or cozy textiles to create a warm, layered look that feels straight out of a vintage farmhouse.
Ready to get started? Let’s make these tinted Mason jars!
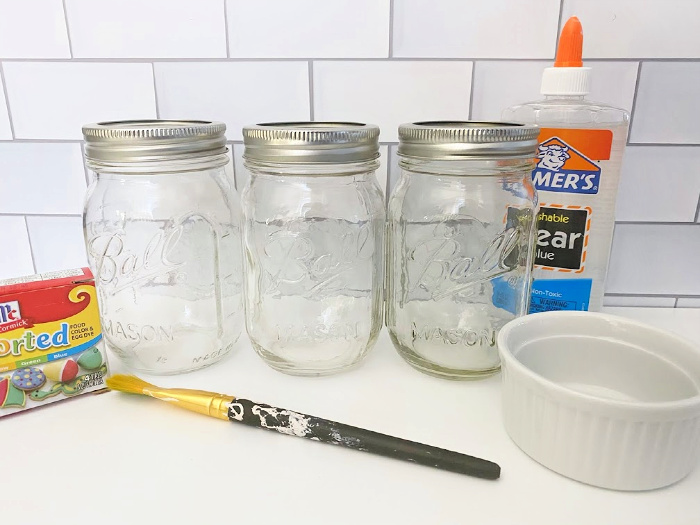
MATERIALS
(All materials, except the scrap paper, are linked below so you can find and order them easily!)
Mason jars (any size)
Elmer’s clear glue
Food coloring
Paint brush
Small bowl
Scrap paper/newspaper
DIRECTIONS
1. Lay out a piece of scrap paper or newspaper.
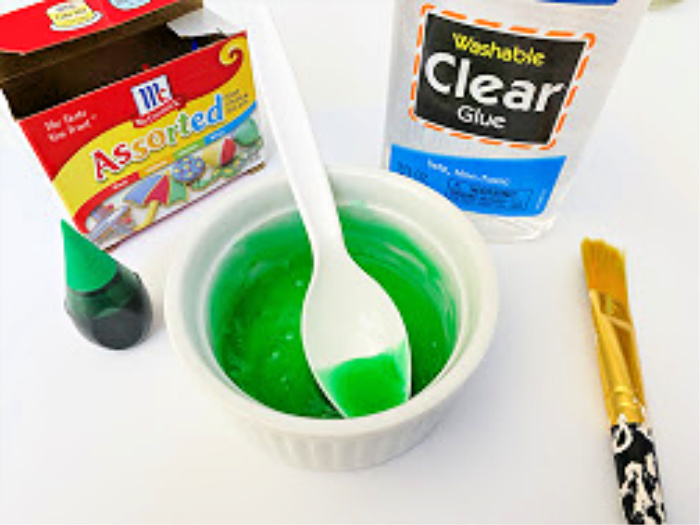
2. In a small bowl, mix 1/4 cup of clear glue with a drop of food coloring. (Only a drop is needed in order to get the “tinted” effect.)
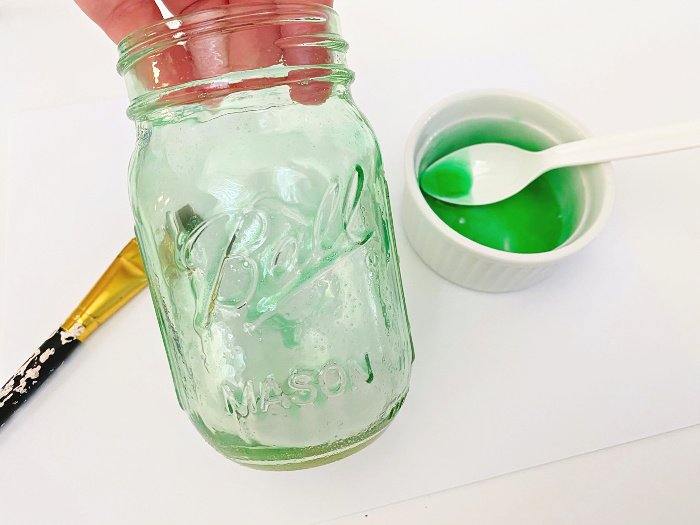
3. Use a paint brush to apply a coat onto the Mason jars. Let dry overnight.
 Simple! I’d love to hear how your tinted Mason jars turned out. What color did you use? How are you using this DIY craft–as home decor, as a storage container, or as something else? Let me know in the comments!
And if you’re looking for more crafts and DIY decor ideas (I know I am!), you won’t want to miss Mason Jar Breakfast on Pinterest. Check out the Mason Jar Crafts, Mason Jar Decor, and Mason Jar Kitchen boards for all of the ideas, inspiration, and DIY tutorials you could ever want!
Leave a Reply