A slow drip beneath the kitchen sink can waste water, damage cabinets, and create damp conditions where mold may grow. The leak may look harmless because the water disappears into a towel or small bowl, but that only hides the evidence. Finding the source early can turn a potential cabinet replacement into a quick plumbing repair.
The Mechanics of Slow Household Leaks
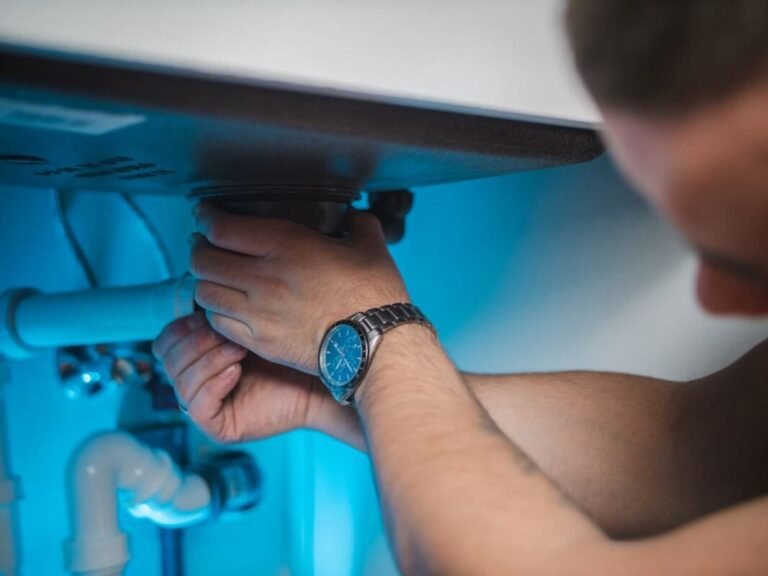
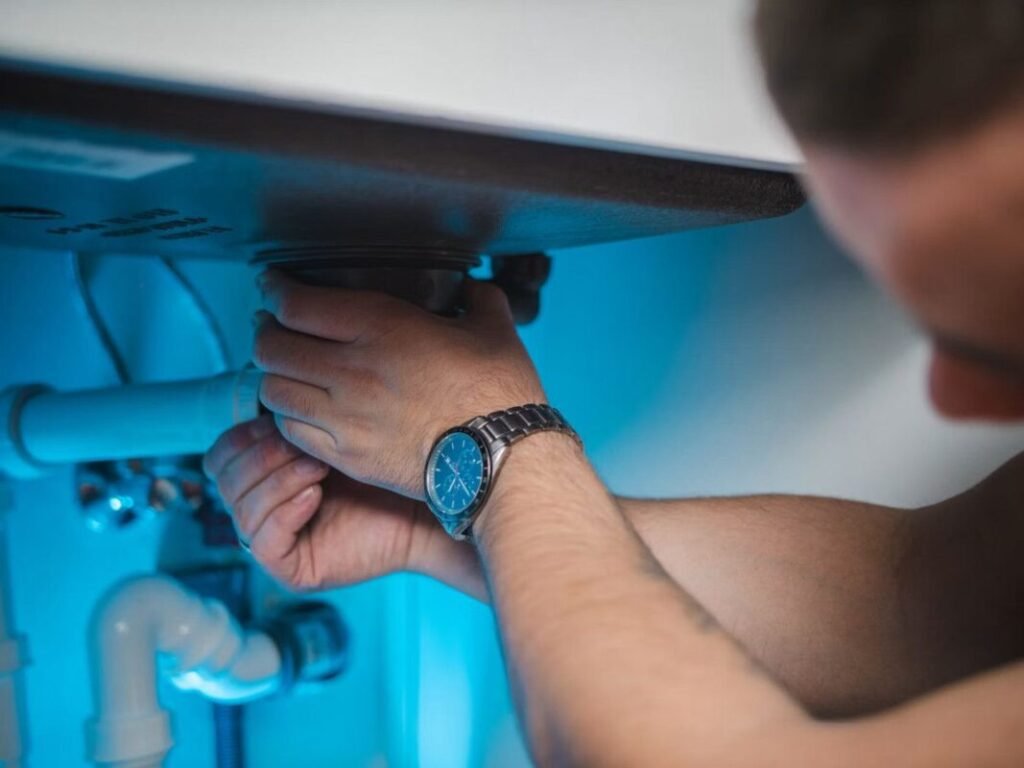
Under-sink plumbing has several possible leak points, including supply line connections, shutoff valves, faucet fittings, drain joints, and the garbage disposal flange. A connection may release only one drop every few minutes when the faucet is off, then leak faster when water runs or the sink drains.
Dry the pipes and cabinet floor completely, then place clean paper towels beneath each connection. Run both hot and cold water, fill the basin, and release the stopper. Fresh marks can help identify the source. If nothing appears, check again several hours later. This broader guide to hidden water leak signs can help you spot related trouble elsewhere in the house.
Hidden Damage Lurking Inside Cabinets
Cabinet materials often absorb water before a puddle becomes obvious. Particleboard may swell around the edges, plywood can separate into layers, and a finished surface may blister or discolor. Examples of cabinet water damage show how subtle the early signs can be.
Damp cabinet interiors also offer favorable conditions for mold, especially behind stored cleaners, trash bins, or shelf liners. Reports on hidden under-sink mold explain why enclosed spaces deserve prompt attention. Remove everything from the cabinet and inspect the back corners with a flashlight. Call an emergency plumbing service if water is flowing steadily, a shutoff valve won’t close, or the leak is spreading beyond the cabinet.
When Simple Tightening Is Not Enough
A slightly loose slip nut on a drain pipe may need a careful hand-tightening, but extra force can crack plastic fittings or distort washers. Stop if the connection continues dripping after one small adjustment. Corroded valves, split supply lines, damaged seals, and cracked disposal housings usually require replacement parts.
Avoid covering a wet joint with tape or sealant before identifying the failure. That may redirect water into the cabinet wall and make the source harder to find. Turn off the fixture’s hot and cold supply valves if they move freely. If the valves leak or feel stuck, leave them alone and arrange professional help. Keep the cabinet empty and place a shallow pan beneath the drip until repairs begin.
Restoring Peace of Mind in Your Kitchen
Once the plumbing repair is complete, dry the cabinet before returning stored items. Blot standing water, run a fan toward the open doors, and check seams where moisture can linger. Replace soaked shelf liner and discard swollen fiberboard organizers that cannot dry fully. Persistent musty odors, soft flooring, or visible growth call for further inspection.
Test the repaired area under several conditions. Run each faucet setting, drain a full basin, and operate connected appliances while watching every joint. Check again later that day and the following morning. A small battery-powered leak alarm can provide an early warning in a crowded cabinet.
Leave a fresh paper towel beneath the repaired fitting for 24 hours. If it remains clean and dry after normal kitchen use, you’ll have practical confirmation that the drip is truly gone.
Related Posts





I love having dance parties in the kitchen with my family, traveling, and mason jar creations.
Follow on Pinterest