This DIY scented Mason jar candle is an easy and inexpensive way to freshen up your home and add a classy piece of decor.
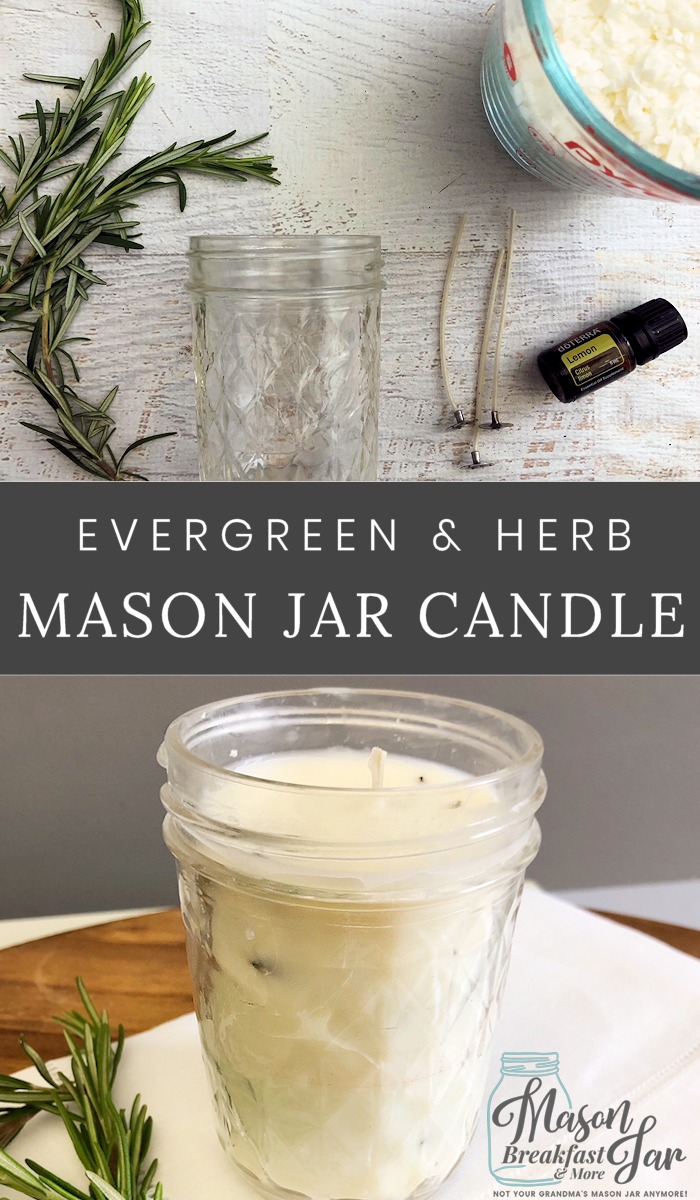

DIY Scented Mason Jar Candle: Evergreen & Herb Mason Jar Candle
I don’t know about you, but by late winter and early spring I really dislike the way my house smells. With all the windows shut tight and the furnace going, I notice food smells a lot more. Plus, it just smells kind of stagnant, do you know what I mean? I can’t wait to open the windows and roll out the welcome mat for fresh air! 🙂 Unfortunately, the air is still a little too brisk to do that just yet… so I’m freshening up my home with this DIY scented Mason jar candle.
Making soy Mason jar candles is really not as hard as I thought it would be and making them is so much cheaper than buying them! Plus, by making Mason jar soy candles instead of purchasing them you know you’re getting an all-natural fragrance instead of something created by chemicals.
This super easy scented Mason jar candle recipe will have your home smelling like fresh evergreens and herbs in no time. (Okay, it’ll actually take a couple of hours because you have to put the candle in the fridge to solidify but the actual hands on time is very little!)
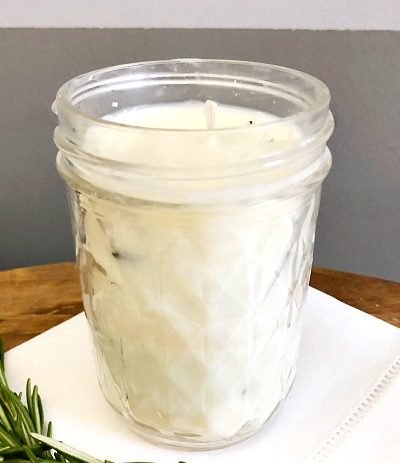
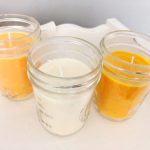
In addition to being easy to make and having a great (all-natural) scent, I love the look of this scented Mason jar candle. The sprigs of green rosemary in all that creamy white soy give it just a touch of color while keeping the overall candle pretty neutral, meaning it goes with just about any decor color scheme. If you’re looking for something simple and sophisticated, I think you get that with this soy Mason jar candle.
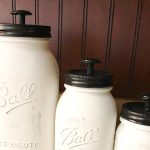
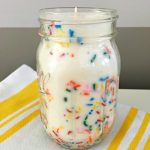
Looking for a candle that’s a little more funky and fun? Try this easy soy Mason jar candle recipe for funfetti Mason jar soy candles. It won’t smell as strong as this evergreen and herb scented Mason jar candle but it does have a vanilla fragrance.
These soy Mason jar candles would also make great Mason jar centerpieces, especially for holiday parties or outdoor garden parties in the evening. Obviously, they’re probably not ideal for a kids party (children and fire don’t mix!), but otherwise they’re a frugal and chic addition to any get-together. 🙂
It’s easy to scale this recipe for soy Mason jar candles up (to make more than one) so make one as a centerpiece for each table or to line a long table with. You can also make extras and give them as gifts. Trust me, this is one candle folks will be glad to receive as a gift.
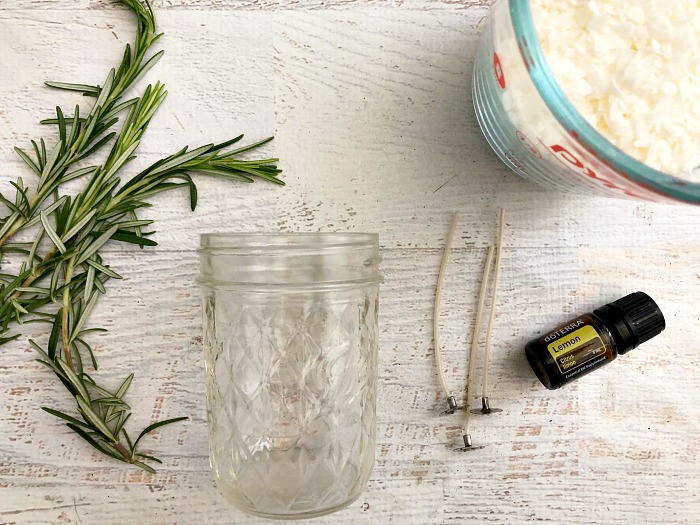
MATERIALS
8 oz Mason jar
Young rosemary sprigs
Soy wax flakes
Douglas fir essential oil
Lemon essential oil
Wax coated candle wick with a metal tab on the bottom
Glass measuring jar
Scissors
DIRECTIONS
1. Press rosemary springs in a heavy book overnight.
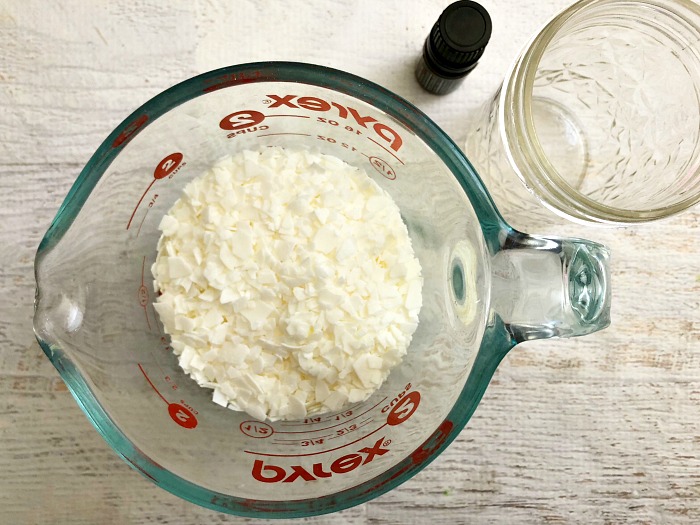
2. Add 2 cups of soy wax flakes to a glass measuring cup and heat in the microwave for 2-3 minutes, stirring every 30 seconds.
3. Remove wax from the microwave and stir until melted.
4. Add 15 drops of each essential oil to melted wax and mix well.
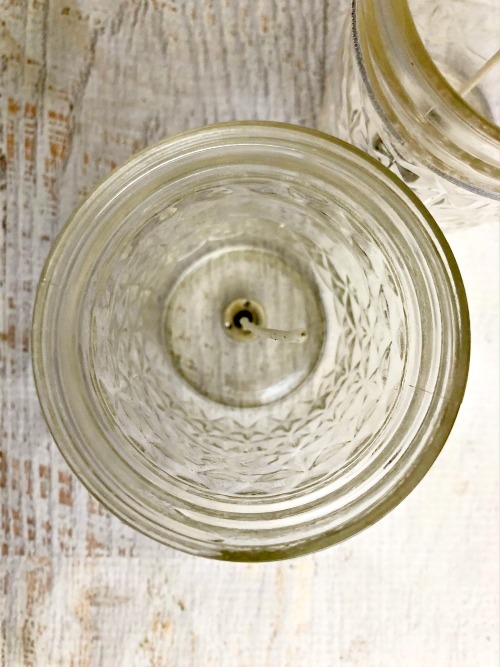
5. Dip the bottom of the wick into the melted wax and set it in the bottom center of the Mason jar.
WARNING: Be careful; the melted wax will be hot!
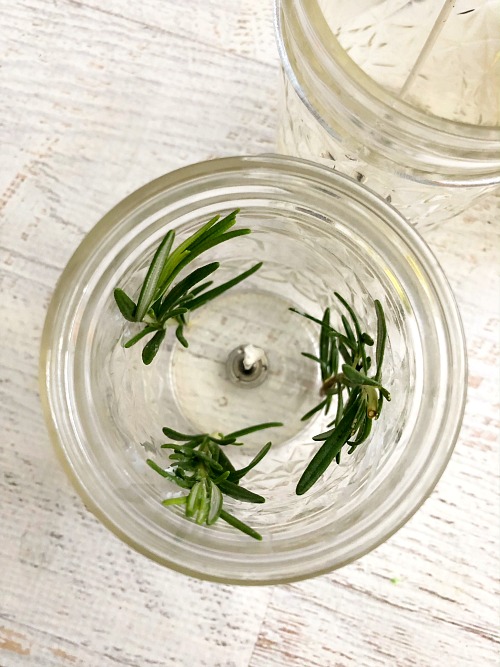
6. Dip rosemary in the wax and press against the sides of the Mason jar.
7. Carefully pour melted wax into the Mason jar, making sure the herbs stay pressed against the sides.
Note: Leave about an inch open at the top.
8. Place your scented Mason jar candle in the fridge for a couple of hours to solidify.
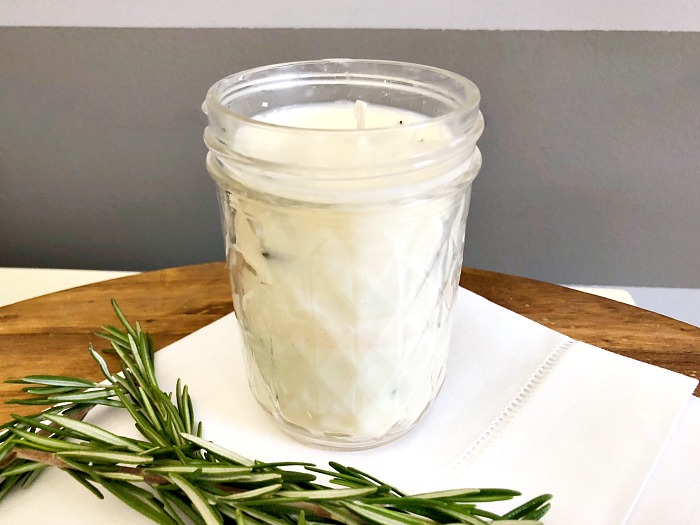
9. Remove soy Mason jar candle from the fridge, trim the wick, and enjoy the all-natural scent.
WARNING: Never leave any burning candle, including Mason jar soy candles, unattended.
Love this scented Mason jar candle but need something with a little more “freshening” power? No worries! You can still achieve a pleasant smelling home without turning to unpronounceable ingredients and chemicals. Try these essential oil based recipes for DIY scented room spray and homemade scented linen spray.
Do you like to use homemade beauty products and homemade cleaners? I love the ability to make products to use in my home that are all natural and safe which is why I am a big fan of essential oils. Young Living essential oils are my favorite oils because they are some of the best essential oils on the market. I also appreciate that Young Living guarantees no pesticides or herbicides were used in the growing of their oils, and that they are the only company that has their own farms, so they can ensure the quality of their oils.
Whether you already use Young Living essential oils or are new to the company, for a limited time, you can snag an awesome deal on a Young Living Premium Starter Kit!
The Young Living Premium Starter Kit includes:
- Eleven (5 ml) therapeutic-grade essential oils
- Your choice of Dew Drop or another Home Diffuser
- Several FREEBIES including a $20 Amazon gift card (limited time offer!), a reference guide, and access to our private Facebook groups where you can learn more about essential oils (how to use them, benefits, how to make money selling them etc.)
- Plus, with this order, you automatically become a wholesale member, which means you will save 24% off all of your orders! Even if you are not interested in selling Young Living essential oils, you still get the member discount if you purchase this Premium Starter Kit, and make at least one purchase of $50 per year!
*One exciting aspect of picking up the Premium Starter Kit is that you immediately have your own business (if you want)! There are numerous perks to becoming a seller and promoter of Young Living essential oils, so if you have been wanting a way to make money at home, this could be the right solution for you. Please note: You are NOT required to sell anything, it is completely your choice, but if you are interested in selling Young Living essential oils, I’d be happy to share with you more about this, feel free to email me at the address below.

Here’s How to Get Your Young Living Premium Starter Kit:
- Go to the Young Living Enrollment page.
- Choose Member for the membership type.
- Double check that the Sponsor ID and Enroller ID are both showing 2751941
- To ensure you never run out of your oils, you can enroll in the optional Essential Rewards program at this time. This is a monthly auto-ship program where if you commit to spending 50 PV (usually $50) for eleven out of the twelve months of the year, you can earn FREE product credits and reduced shipping! I love to save money, so I recommend this option! (You may opt out if you are not interested.)
- Add any additional products and fill in your information. A couple of additions you may want to consider are Lemongrass Vitality which is great for pain relief and a Thieves Household Cleaner. I like the Thieves Household Cleaner because not only is it cheaper than most any cleaner you can buy in stores, but it is non-toxic too. As a mom, this matters to me.
- After you fill out your information, including name, address, phone, email, etc., you will also enter your social security number and agree to the terms & conditions.
- Select your choice of shipping, and then you will enter your payment information.
- Review your order and then click Activate and Place Order. That’s it! Your oils will be on their way!
Please feel free to email me with any questions at freebiefindingmom@gmail.com. Your freebies will be shipped within 2-4 weeks.
Want to learn more about Young Living essential oils and why they are my preferred essential oil provider? Go here.
Leave a Reply