 Riding after dusk, early in the morning, or through dimly lit areas? Rear bike lights are essential gear for any cyclist. Beyond just being stylish accessories, they deliver safety, visibility, and peace of mind. Here’s everything you need to know to pick the right rear bike lights and set them up properly.
Why Rear Lights Matter
- Safety first: The majority of cycling accidents happen when a driver approaches from behind. A bright, well-positioned rear light dramatically increases your recognizability.
- Stand out day and night: Many modern rear lights offer daytime flashing modes—great for standing out in sunlight and rain.
- Legal compliance: In most areas, a red rear light (or reflector) is required after dark. Some places mandate steady instead of flashing modes—check your local rules.
Types of Rear Lights
- Safety/visibility lights: Compact LEDs with around 30–300 lumens, designed primarily to be seen. They often feature flashing, steady, and daytime modes.
- Smart/brake-sensing lights: These intensify or flash brighter when you slow down—perfect for alerting trailing traffic.
- Radar-equipped units: Some high-end lights, like the Garmin Varia, include radar to detect vehicles approaching from behind and relay alerts to a handlebar display.
Key Features to Consider
Brightness (lumens)
Aim for 30–50 lumens for urban use, especially in flashing mode. For extra visibility during daytime or open roads, 200–300+ lumens helps.
Beam pattern and side visibility
Wider beams (up to 330°) make you visible from angles—ideal at intersections or on shared paths.
Power source and runtime
- Rechargeable via USB is now standard and eco-friendly.
- Longer battery life means fewer mid-ride worries—look for lights with indicator lights for battery level.
Mounting and position
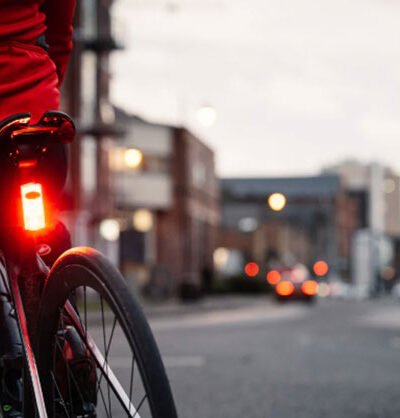
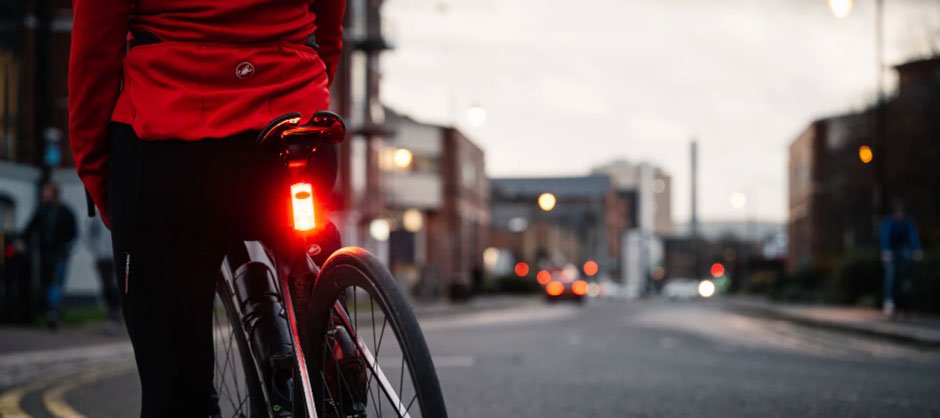
- Seatpost is often best: stable, eye-level, and unobstructed.
- Supplement with a light clipped on a rack, saddlebag, or even helmet for extra height and redundancy.
- Ensure it’s angled slightly—ideally 0–5° downward from the seatpost, higher mounts may need a slight upward tilt.
Build quality
Waterproofing (IPX5 or higher) is important if you ride in the rain. Quick-release mounts make it easy to remove the light when parking.
Modes and flash patterns
Flash mode helps battery life and grabs attention; daytime flash is especially effective; steady beam aids judging distance.
Placement Tips for Maximum Impact
- Seatpost first: High, clear of gear, and aligned with driver sightlines.
- Add a backup: Rack or saddlebag mount covers angles the primary might miss.
- Helmet option: A rear helmet light sits higher, great for layering visibility.
Angle it right
Small tilt adjustments matter. Roughly 0–5° from horizontal on the seatpost, 5–10° upward if mounted low (like on stays or a rack), ensures beams meet car windows rather than pointing at tires or the sky.
Combining Lights & Reflectors
Use multiple lights for redundancy and visibility. Add reflective elements—tape on helmet, frame, and pedals, spoke lights, or reflective sidewalls—to boost side visibility at no power cost.
Choosing the Right One
- Commuters: USB-rechargeable lights between 30–100 lumens, with flashing and side visibility features.
- All-weather riders: Pick waterproof units with long runtimes and solid mounting systems.
- Road riders & touring: Add a bright secondary light (200+ lumens), especially during the day or on open roads.
- Tech enthusiasts: Consider radar-enabled units to alert you of approaching vehicles.
Conclusion
Think of your rear lights as your personal safety net—bright, visible, and reliable. A well-chosen rear light setup doesn’t just light the way—it keeps you seen and secure whether day or night. Ensure proper mounting, choose the right brightness and modes, and top it off with reflectors for full visibility coverage. Happy, safe riding!


Leave a Reply