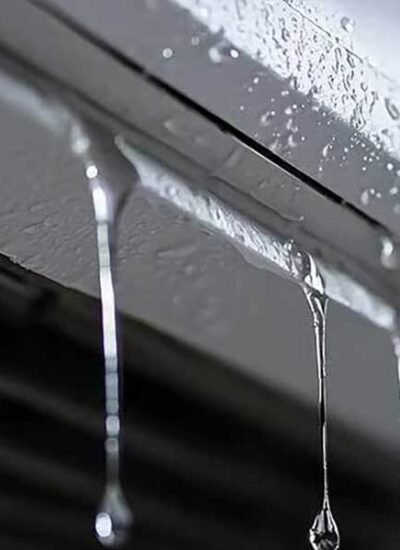
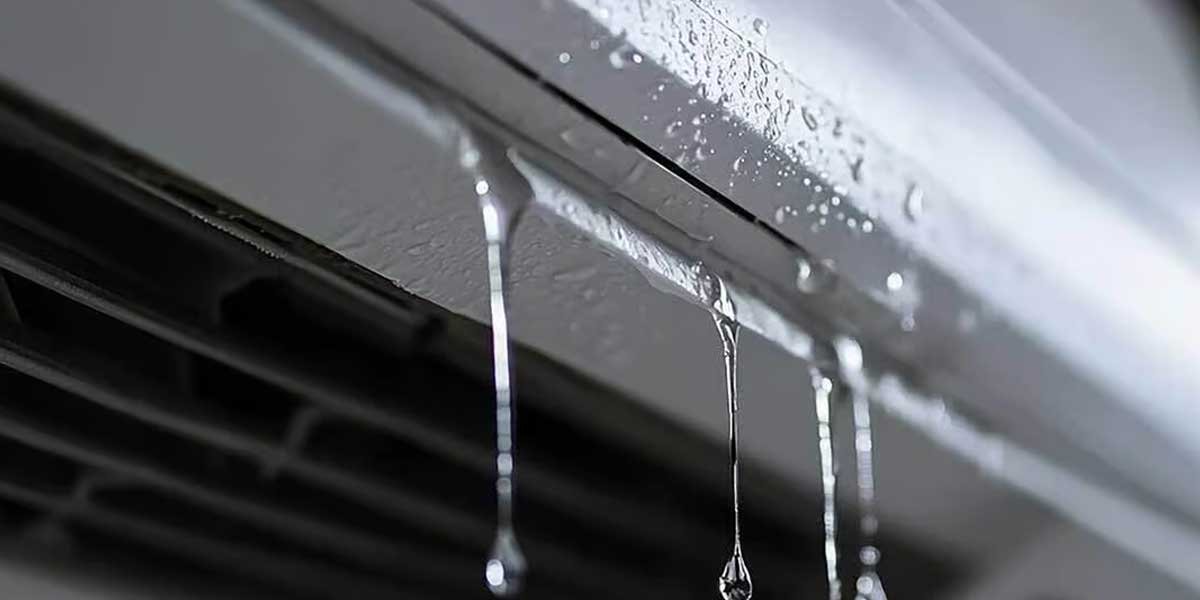
A central air conditioner leaking water inside the house almost always traces back to one of six specific problems, and four of them are fixable in 30 minutes with a wet/dry vac and a fresh filter.
The unit pulls humidity out of the air during normal operation, condenses it on the evaporator coil, and routes the water through a PVC drain line to the outside. When any part of that drainage path fails, water backs up and overflows into the air handler closet, attic, or ceiling below.
The most common culprit is a clogged condensate drain line, which accounts for roughly 60% of indoor AC water leaks reported to HVAC service companies. The other five causes range from a dirty filter freezing the coil to a cracked drain pan in an aging unit.
This guide walks through how to identify which problem you have, fix the four DIY-friendly ones yourself, and recognize the two situations where you need a licensed technician.
Quick Diagnostic: Match Your Symptom to the Likely Cause
Before pulling out any tools, use the table below to narrow down which of the six common causes matches what your central air conditioner is actually doing. This skips the trial-and-error step that wastes most homeowners a Saturday morning.
| What You See | Most Likely Cause | DIY-Fixable? |
|---|---|---|
| Water pooling around the indoor air handler | Clogged condensate drain line | Yes |
| Ice forming on the copper line or evaporator coil | Dirty air filter or low refrigerant | Filter: yes / Refrigerant: no |
| Active dripping with no ice present | Cracked or rusted drain pan | Yes (replacement) / No (welding) |
| Pump near the unit hums but no water moves | Failed condensate pump | Yes (pump swap, $40-$80 part) |
| Leaking only when AC runs hard on hot days | Drain line slope incorrect or undersized | No (requires HVAC technician) |
| Brand-new system leaking within first month | Installation defect — call installer | No (warranty claim) |
6 Common Causes of Central AC Water Leaks
These six issues account for nearly every indoor leak case reported in HVAC service logs. Four are self-fixable in under an hour. The other two need a licensed technician with refrigerant certification or installation expertise.
1. Clogged Condensate Drain Line (Most Common)
Algae, mold, and biofilm build up inside the PVC drain line over a single cooling season. Once the line is fully blocked, condensation water has nowhere to go and backs up into the drain pan, then overflows. This is the cause behind roughly 6 in 10 indoor AC water leaks.
You will usually find a clogged line traced by a wet patch under the air handler closet, water staining on the ceiling below, or a safety float switch that has shut the system down. Most modern central AC systems include this float switch precisely to prevent the leak from getting worse.
2. Dirty Air Filter Freezing the Evaporator Coil
A clogged filter starves the evaporator coil of warm return air. Without that airflow, the coil drops below freezing and ice forms on the copper. When the AC cycles off, the ice melts faster than the drain can handle, and water spills out of the pan. The Department of Energy recommends checking the filter every 30 days during peak cooling season.
If you also notice weak airflow at vents, room temperatures climbing despite the AC running, or visible ice on copper lines near the air handler, the filter is your first suspect. A $15 fresh filter usually resolves the problem within 24 hours.
3. Low Refrigerant (Gas Leak)
Refrigerant does not get used up during normal AC operation. If your central air conditioner is low on refrigerant, there is a leak somewhere in the copper line set, evaporator coil, or condenser. Low refrigerant causes the same evaporator freeze-and-thaw cycle as a dirty filter, which produces water leaks when the ice melts.
Signs include hissing near connections, the outdoor compressor running continuously without cooling, and ice forming on the indoor copper line even with a clean filter. EPA Section 608 certification is legally required to handle refrigerant in the US, so this is technician territory. Expect $200 to $1,500 for leak detection and recharge, depending on leak location.
4. Cracked or Rusted Drain Pan
Older central AC systems with metal drain pans develop rust over 10-15 years of catching condensation. The bottom develops pinholes, the corners crack, and water dribbles out the holes instead of flowing into the drain line. Newer units use durable plastic pans that rarely fail until the unit itself is ready for replacement.
Use a flashlight to inspect the pan under the indoor air handler. Visible rust streaks, water stains running down the side of the pan, or active drips with no ice present all point to pan failure. Replacement pans cost $20 to $50 and swap in under an hour if you can access the air handler.
5. Failed Condensate Pump (Basement/Attic Systems)
If your air handler sits below the level of the nearest drain outlet (common in basements and some attics), a condensate pump moves the water uphill to where it can drain. When that pump fails, water collects in the pump reservoir, trips the float switch, and shuts down the AC. Some older systems without a float switch will just overflow.
Listen for the pump cycling normally during AC operation. If it hums but no water moves, the impeller is jammed or the check valve has failed. A replacement pump costs $40 to $80 and installs with two PVC connections plus a power plug. This is one of the easiest DIY fixes on the list.
6. Improper Installation or Drain Line Slope
The condensate drain line must slope downward toward the exit point at roughly 1/4 inch per foot. If the installer ran the line flat or sagging, water pools inside the PVC and eventually backs up. Brand-new central AC systems that leak within the first month nearly always have an installation defect of this type.
This issue requires opening up the PVC runs, re-pitching the slope, and possibly re-supporting the pipe with new hangers. If your unit is under warranty, the installer is contractually obligated to come back and fix it for free. Document the leak with photos and contact them before paying any third-party HVAC technician.
Step-by-Step DIY Fixes for the Four DIY-able Causes
Four of the six causes above can be resolved without calling a technician: clogged drain line, dirty filter, cracked drain pan, and failed condensate pump. Each fix takes 15 minutes to 1 hour and requires basic tools most homeowners already own.
Unclog the Condensate Drain Line (15-30 minutes)
This is the highest-payoff DIY job because clogged drain lines cause the majority of indoor AC water leaks. You need a wet/dry shop vacuum, duct tape, and a cup of distilled white vinegar.
- Turn off the AC at the thermostat and at the breaker for the air handler.
- Find the condensate drain line outside (a 3/4-inch white PVC pipe exiting the wall near the outdoor unit).
- Press the wet/dry vac hose against the outdoor end of the PVC. Seal the gap with duct tape so the vacuum pulls full suction.
- Run the vacuum for 60 seconds. You will hear or see a sudden gush of water and gunk into the vac canister when the clog breaks.
- Locate the drain line access cap inside (usually a T-shaped fitting near the air handler with a removable cap or plug).
- Pour 1 cup of white vinegar slowly into the access point. Wait 30 minutes for it to dissolve remaining biofilm, then run the AC normally.
Replace the Air Filter and Defrost the Coil (1 hour)
If your filter is brown and matted, replace it immediately. Then turn off cooling but leave the fan running on AUTO for 1-3 hours to thaw any ice on the evaporator coil. Running the AC with a frozen coil only makes the leak worse and can damage the compressor.
After the coil fully defrosts, vacuum out the drain pan, install the fresh filter, and resume normal operation. If ice forms again within 48 hours, the cause is not the filter, it is refrigerant or airflow, and you need a technician.
Replace a Cracked or Rusted Drain Pan (30-60 minutes)
Power off at the breaker. Open the air handler access panel (usually 4-6 screws). Slide the old metal pan out from under the evaporator coil. Take it to a hardware or HVAC supply store to match the exact dimensions, then slide the new pan in. Reconnect the drain line, close the panel, and restore power. The whole job runs $25-$60 in parts.
Replace a Failed Condensate Pump (30 minutes)
Unplug the pump. Disconnect the inlet PVC line (catches drips in a bucket) and the outlet line. Lift the old pump out, set the new pump in the same spot, reconnect both PVC fittings, and plug it back in. Most modern condensate pumps are universal mounting, so brand swaps work fine. Total cost: $40-$80 plus 30 minutes.
When to Stop DIY and Call a Pro
Two of the six causes always require a licensed HVAC technician: refrigerant work and installation defects. Refrigerant leaks demand EPA Section 608 certification, which is legally required and not something a homeowner can shortcut. Installation slope problems require opening sealed PVC runs and reworking the drainage system, which usually voids warranty if attempted by a non-licensed person.
Stop DIY immediately if any of these apply: ice forming on copper lines after replacing the filter, water leaks recurring within 48 hours of clearing the drain, the indoor coil showing visible refrigerant oil residue, or the unit being under 5 years old and still under warranty.
Calling the installer for warranty work is free. Calling a third-party technician on a warranty issue often voids future coverage entirely.
“The biggest mistake I see homeowners make is calling their handyman buddy for an AC water leak instead of the original installer. The moment a non-licensed person opens that air handler, your manufacturer warranty is toast. Always document with photos and call the installer first, even if you’re frustrated with their response time.”
This pattern of denied warranty claims is one of the most expensive mistakes documented in home improvement community threads.
Expected repair costs by issue: drain line cleaning by a pro runs $150-$250, refrigerant recharge $200-$1,500 depending on leak detection, evaporator coil replacement $1,200-$2,800, full air handler swap $2,500-$4,500. If your central AC is over 12 years old and the repair quote exceeds 40% of a new system’s cost, replacement is usually the better long-term math.
How to Prevent Future Water Leaks
Most central AC water leaks are preventable with three simple maintenance habits performed on a regular cadence. None requires a technician. Together they catch roughly 80% of leak-causing problems before they overflow.
First, pour 1 cup of white vinegar down the condensate drain access every three months during cooling season. This kills the algae and biofilm before they can fully clog the line.
Second, replace the air filter every 30-90 days depending on filter type (1-inch fiberglass: 30 days; 4-inch pleated MERV 11: 90 days).
Third, walk the indoor air handler closet once a month during summer and look for water stains, rust streaks on the drain pan, or moisture around the PVC connections.
Once a year, in the spring before peak cooling, have a licensed HVAC technician inspect the full system. The visit typically costs $80-$150 and catches refrigerant charge issues, drain pan condition, evaporator coil grime, and ductwork sealing. This single visit pays for itself the first time it prevents an emergency call during a July heatwave.
Frequently Asked Questions
Should I turn off my AC if it is leaking water?
Yes, turn off the AC at the thermostat as soon as you notice an active water leak. Continuing to run the unit pushes more condensation into a system that cannot drain it, which worsens water damage to drywall, flooring, and electrical components. Switch to fan-only mode if you need air circulation while you diagnose the cause.
How much does it cost to fix a central AC leaking water?
DIY fixes for drain line clogs and filter replacement cost under $20. Drain pan replacement runs $25-$60 in parts. Condensate pump swaps cost $40-$80. Professional repairs range from $150 for drain cleaning to $1,500 for refrigerant work to $2,800 for evaporator coil replacement. Total leak repair costs typically land between $50 and $500 for the vast majority of households.
Is a water leak from my AC an emergency?
An active leak that is dripping onto drywall, flooring, or electrical wiring is an urgent issue but rarely a true 24-hour emergency. Turn the AC off, place towels or a bucket under the leak, and address it the same day or next morning. Active leaks ignored for days can rot subfloors, ruin ceilings, and create mold problems that cost thousands more than the original repair.
Will a leaking AC cause mold?
Yes, condensate water that pools on drywall or wood substrates for 48-72 hours typically begins growing mold. Hidden leaks in attic-mounted air handlers are especially prone to seeding mold colonies above ceiling drywall. If you suspect a leak has been active for more than 2 days, inspect for staining, soft drywall, or musty odors before assuming the fix is complete.
Why does my AC freeze up and then leak water?
Frozen evaporator coils form when airflow is restricted (dirty filter) or refrigerant is low. Ice builds on the cold coil during operation, then melts rapidly when the AC cycles off, overwhelming the drain pan and causing overflow. The fix is to address the underlying airflow or refrigerant cause, not just clear the resulting water.
When should I replace my central AC instead of repairing the leak?
Replace the unit if it is over 12 years old and the repair quote exceeds 40% of a new system’s cost, or if you have already paid for major repairs (compressor, coil, or refrigerant leak) within the last 24 months. Modern units also deliver 20-40% better efficiency under current SEER2 ratings, which offsets the upgrade cost in lower utility bills.
Bottom Line
A central air conditioner leaking water is rarely a system failure. Six causes account for nearly all indoor leaks, and four of them can be fixed in under an hour for less than $80 in parts.
Start with the diagnostic table to identify which cause matches your symptoms, then work through the DIY fix in order. If the leak recurs within 48 hours of your repair, escalate to a licensed HVAC technician rather than running the system and hoping it sorts itself out.
Acting quickly protects drywall, prevents mold, and usually saves several hundred dollars in secondary damage repair.




Leave a Reply