Getting started with home brewing can feel a little overwhelming at first. There are many beer kits available, each with a different set of instructions. The good news is that once you understand the basics, the process becomes much more approachable. While every kit may have small differences, the core steps behind the process tend to follow a similar pattern.
Starting with this hobby can feel a bit overwhelming, especially when you’re not sure what equipment you need. That’s why choosing a beginner-friendly homebrewing starter kit makes a big difference. This typically includes all the essentials, like a fermenter, airlock, mixing tools, and cleaning supplies. It also takes away a lot of guesswork. Clear, easy-to-follow instructions can guide you through each step. Starting simple doesn’t mean compromising quality. This just gives you the best chance to enjoy the experience. I’ll walk you through the essentials and give you a feel for what to expect before you dive in.
Reasons to Start Homebrewing
For many people, the biggest reason to start using homebrewing starter kits is simple – it saves money. Once you’ve got your basic setup sorted, the cost per pint drops significantly compared to buying from the shop. Without the added taxes built into retail prices, you can enjoy a good pint for a fraction of what you’d usually pay. Even premium-style brews can work out surprisingly affordable, which makes the whole process feel even more rewarding.
But the cost isn’t the only benefit. It’s satisfying to make your own beer and see it turn out well. A lot of people are surprised by how close the taste is to their usual favourites, sometimes even better. It’s also easier than it might seem at first, especially when you follow the instructions properly. Once you get the hang of it, it becomes a relaxed, enjoyable hobby that fits easily into your routine and keeps you coming back for the next batch.
What’s the Process Like?
Cleaning and Sterilisation
What are the steps in brewing beer? First, cleaning and sterilisation are steps you don’t want to cut corners on when using a homebrewing starter kit. It might not be the most exciting part, but it’s easily the most important. You need to properly sanitise anything that touches your brew, because any unwanted bacteria can spoil the whole batch. Fermenting liquids are especially sensitive, so give the tools and utensils a thorough clean beforehand.
There are plenty of easy-to-use cleaning and sterilising products out there, and if you follow the instructions, you’ll be on the right track. Some people like to rinse everything with cold water afterwards, just for peace of mind, while others don’t. Whether you’re using a sink, a bucket, or even a bathtub to prep bottles, the goal is the same: start clean, and you’ll give your brew the best possible chance to turn out right.
Warm the Tin
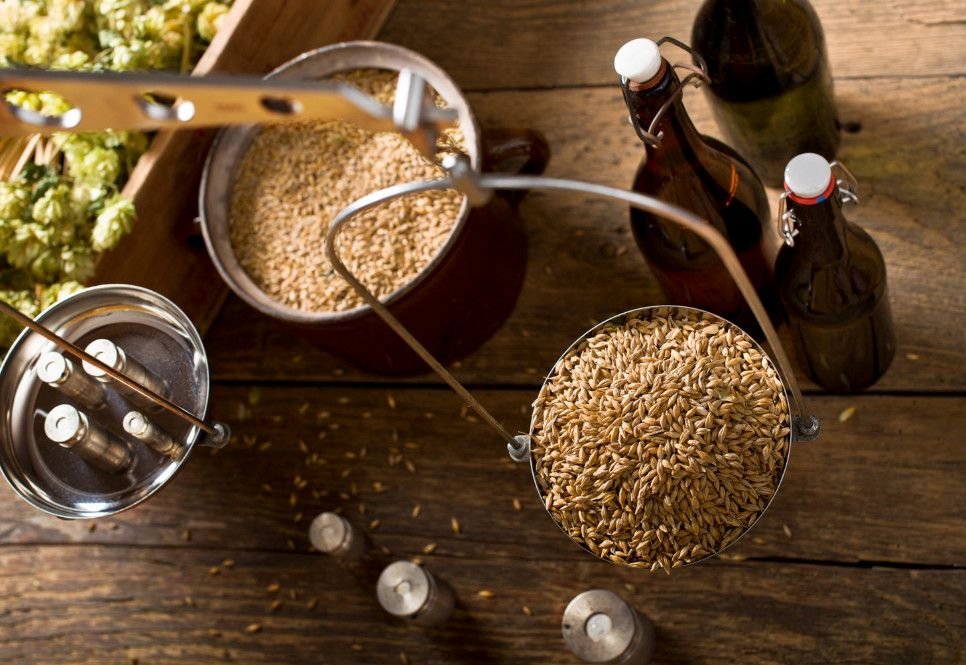
Once your equipment is clean and ready, the next step is preparing the ingredients so you can get the most out of them. If your kit comes in a tin, placing it in hot water for a few minutes helps loosen the contents, making it much easier to pour. When it’s warmed through, you can empty it into your fermenting bucket without leaving half of it stuck to the sides. Give the container a quick rinse and add that in too, just to make sure nothing goes to waste.
Some kits come in pouches instead, but the idea is the same. A little warmth makes the contents flow more easily, which means you’re getting the full flavour and ingredients into your brew. This step sets you up and helps ensure your batch turns out right.
Transfer Contents to a Fermenting Vessel
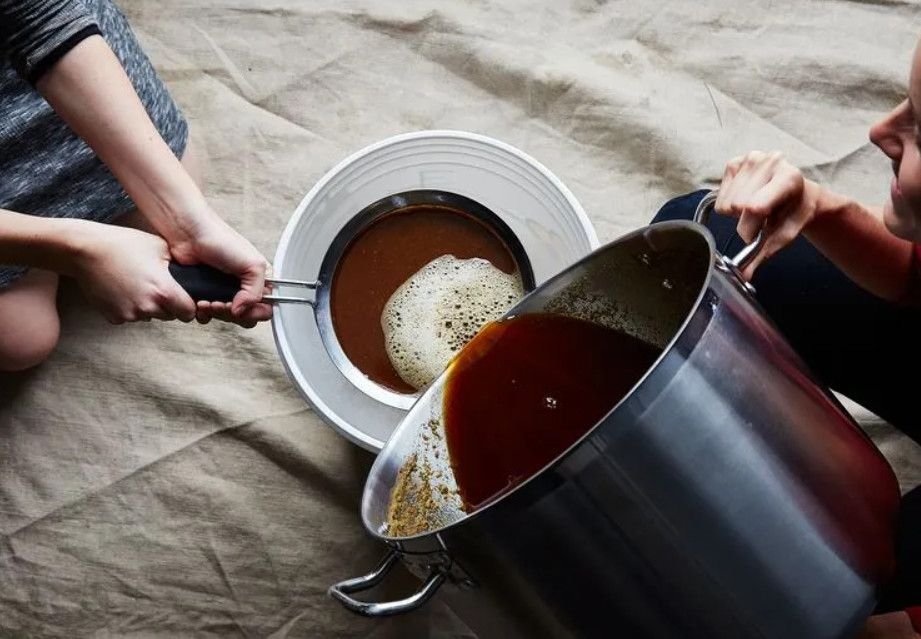
Now it’s time to bring the ingredients of your brewing starter kit together in your fermenting vessel. Pour in the prepared ingredients, then add the recommended amount of sugar or enhancer, depending on the style you’re making. A bit of hot water helps dissolve the ingredients properly, so follow the instructions and mix it in thoroughly.
Once that’s done, give the liquid a good stir. This combines the ingredients and introduces oxygen, which helps kick-start a healthy fermentation. After a few minutes of mixing, top it up with cold water to reach the required level. If your tap water has a strong chlorine taste, let it sit for a day or switch to bottled water.
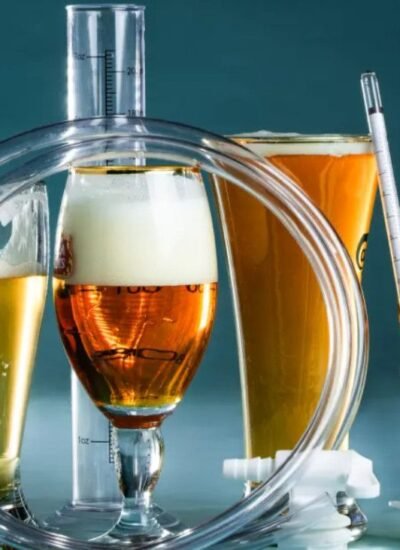
Do a Hydrometer Reading
At this stage, it’s time to check where your brew is starting from by taking a hydrometer reading. Simply float it in a sample and note the level, and it’ll usually sit somewhere around the expected range for a fresh mix. Before adding the yeast, make sure the temperature is in a safe zone, as too much heat can affect how it performs. Once it looks right, sprinkle in the yeast and give it a good stir.
Wait Out the Fermentation
Once the complete brewing kit is set, it’s mostly a waiting game. Keep your fermenting vessel somewhere with a steady, comfortable temperature and let the process do its thing. After a few days, you’ll notice it settling down, which is a good sign that fermentation is progressing as it should. Around this point, you can take another hydrometer reading, and when the numbers stay consistent over a couple of days, you’ll know it’s ready for the next stage.
Transfer to Bottles or a Barrel
Use a siphon to move your beer into bottles or a barrel. If your vessel has a tap, this can make things even easier since the sediment usually sits below it. If you’re curious about the strength of your brew, you can take another hydrometer reading at this stage and compare it to your first one.
Prime the Beer
To give your beer that satisfying sparkle, you’ll need to add a little sugar before sealing it up. This step helps create carbonation inside the bottle or barrel. After that, keep everything somewhere warm for a few days so the fizz can develop properly. Once that’s done, move it to a cooler spot and let it rest for a couple of weeks. This is when the flavour settles, and the beer clears, turning it into something enjoyable to drink.
Enjoy Your Drink
Now comes the best part: pouring yourself a glass and enjoying the beer you’ve made from start to finish. Not only does it taste amazing, but it’s also far cheaper than anything from the shop. Once your equipment is ready for the next batch, you can keep brewing and never run out. How satisfying is that?


Leave a Reply