When you first put up wallpaper, it feels like a forever decision. But styles change, patterns date, and suddenly that floral wallpaper from 2008 makes your living room feel like your grandmother’s basement. The bad news: removing old wallpaper can be messy. The good news: with the right approach, you won’t destroy your walls in the process. Here’s how to do it step by step.
Preparing Your Space
Tools and Supplies You’ll Need
Buckets, sponges, scrapers, a scoring tool, drop cloths, and lots of patience. Some folks even call wallpaper installers in Los Angeles just to borrow advice (or to avoid the whole nightmare altogether).
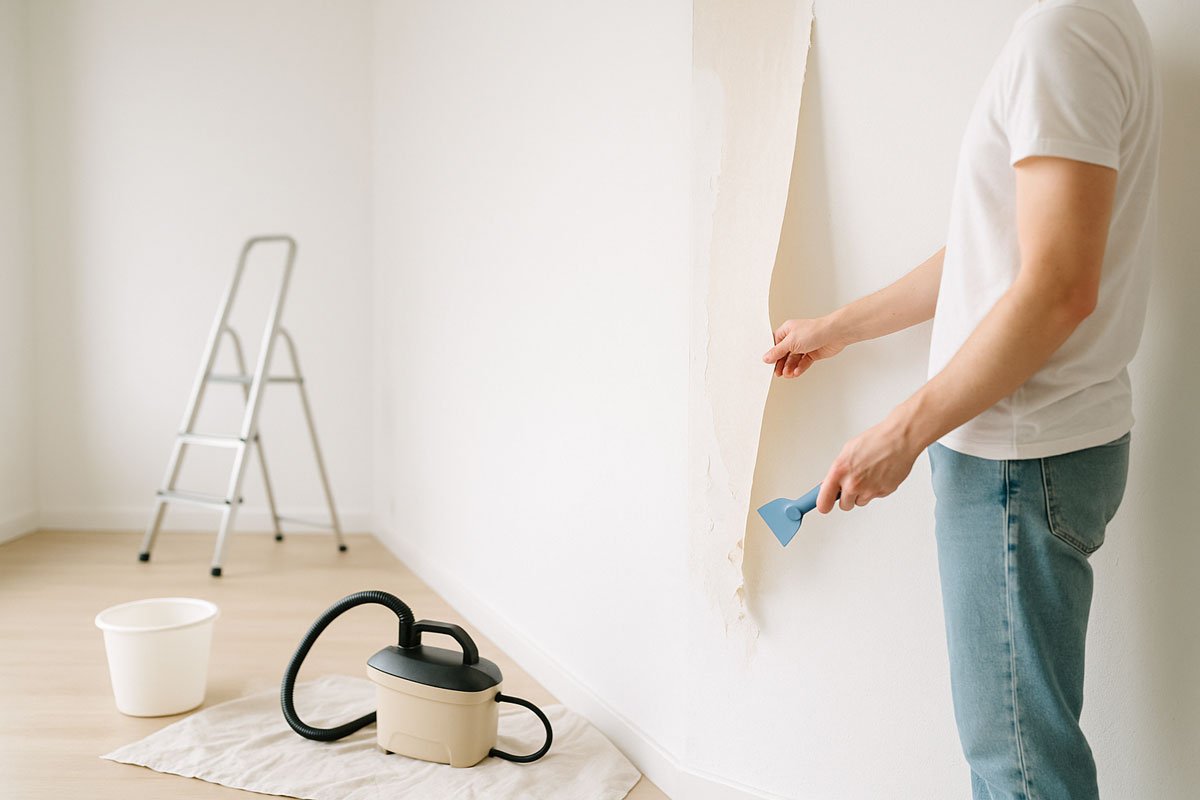
Protecting Floors and Furniture
Before you go full demolition mode, cover everything. Lay down drop cloths or plastic sheeting, move furniture away from walls, and tape edges. Wallpaper removal is wet, messy, and guaranteed to test your cleaning skills.
Step 1: Assess the Type of Wallpaper
- Peel-and-stick: lucky you, these usually come off easily.
- Vinyl-coated: tougher, often water-resistant, which means you’ll need scoring and soaking.
- Traditional pasted wallpaper: old-school glue that takes time, patience, and maybe a few choice words.
Step 2: Loosen the Wallpaper
- Scoring the surface: use a scoring tool to poke tiny holes so water or remover can seep behind the paper.
- Applying warm water or remover: spray generously with warm water mixed with a bit of soap, or a store-bought wallpaper remover. Let it sit for 10–15 minutes.
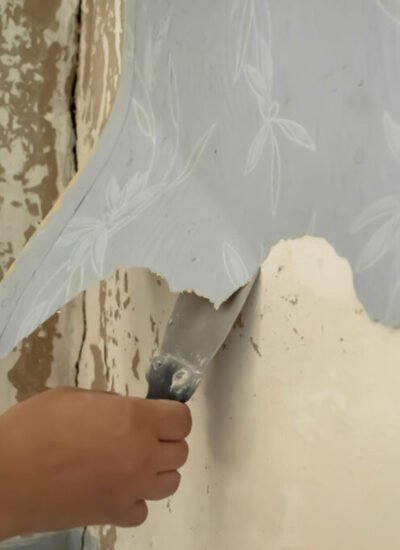
Step 3: Peeling Off the Wallpaper
- Start from the seams: lift a corner gently and pull at an angle.
- Use a scraper safely: keep it flat against the wall to avoid gouging holes. Think “smooth and steady,” not “angry and aggressive.”
Step 4: Dealing With Stubborn Glue and Residue
- Homemade solutions: vinegar + warm water + a drop of dish soap works wonders.
- Commercial adhesive removers: effective, especially for large, stubborn areas.
Step 5: Cleaning and Prepping the Walls
- Wash and dry the surface thoroughly to remove any leftover residue.
- Fix small imperfections with spackle or filler before painting or applying new wallpaper. Your future self will thank you.
Common Mistakes to Avoid
Using tools that are too sharp
A putty knife works great. A kitchen knife? Not so much.
Tearing off wallpaper “dry”
It’s tempting, but pulling dry wallpaper almost guarantees damaged drywall.
Ignoring the adhesive layer
Even if the paper’s gone, leftover glue will ruin new paint or wallpaper. Don’t skip this step.
Conclusion
Removing wallpaper isn’t glamorous, but it doesn’t have to be a disaster either. With the right prep, tools, and a little patience, you can strip your walls clean without damage. And if halfway through you’re staring at stubborn glue patches and questioning your life choices — remember, professional wallpaper installers in Los Angeles deal with this every day. Sometimes calling in backup is the smartest DIY move you can make.


Leave a Reply