Gardening has enormous health benefits, both physically and mentally. Being around growing greenery can calm the mind, and working in a garden is a great exercise regimen. Much as we would all love to have a permanent patch of land to call our own, this is unfortunately not the case for many people, especially those who live in urban environments. In other cases, people may want to continue gardening all year round, which is infeasible in northern climates.
Enter container gardening. This approach allows you to grow either indoors or outdoors, even moving your plants with the seasons as needed. Today, we’ll explore the basics of container gardening so that you’re all ready to use your green thumb.
Decide Which Plants You’d Like to Grow
There are thousands of plant varieties, but not all are suited to container gardening. Thankfully, many plants, including trees and bushes, are well suited to growing in pots. For example, those who love fresh fruit could consider an Alphonso mango tree, a dwarf species that will happily produce when planted in a large container.
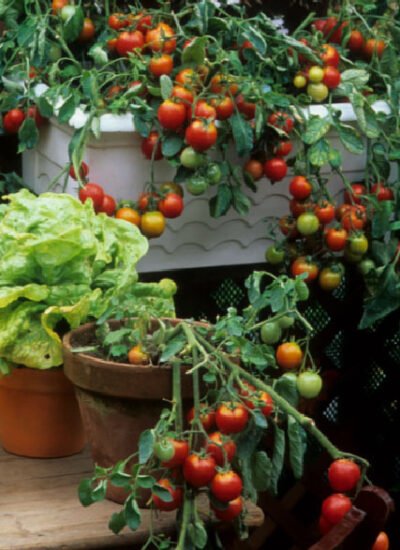
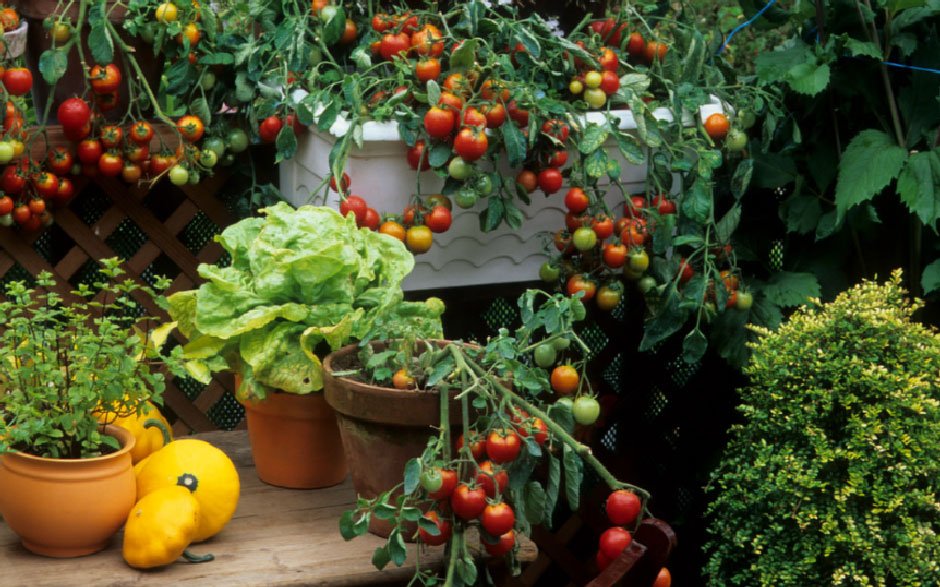
If you’re a big fan of healthy cooking, consider some easy vegetables like squash, cucumbers, and tomatoes. There are even special containers for potatoes that let you harvest without completely digging out the plant.
Review Care Instructions
Before you buy anything, check what each potential plant needs in terms of sunlight, watering, fertilizer, and space. Don’t just rely on what care instructions say, either; check out forums and guidebooks to see what other experts suggest.
Space is a crucial issue that needs to be sorted out first. Putting a plant in a container that is too small can mean it won’t grow at all, or it will be very difficult to repot because the roots will be too densely packed.
You should always plan to go larger than the recommended container size, as this allows the plant room to grow and can reduce the need to repot them constantly. For example, if a plant can grow in a seven-gallon container, you may be better off starting it off in a 10-gallon container.
Develop a Garden Plan
A bit of planning ahead of time can save you a significant headache. Once you’ve decided what plants you’re buying, develop a diagram of your container garden space, including what direction it’s facing and how many hours of sunlight it receives. This will let you determine what plants will go where based on whether they need full sun, partial sun, or mostly shade. South-facing or west-facing windows will be best for full-sun plants, while north-facing windows will suit shade plants. East-facing windows will provide good sunlight for partial sun plants. If you don’t have a good light source, consider getting a few small grow lights to supplement.
Gather Your Tools
After developing your plan, you’ll need to acquire the containers. Make sure that all of them have proper drainage holes; if they’re too small, you may need to drill additional holes. Potting dishes settled below the container will keep things neat and tidy while still ensuring that your plants get enough water.
All plants have slightly different soil requirements, so all-purpose potting soil won’t necessarily work. For example, orchids grow best in a mixture of sphagnum moss that gives their roots plenty of breathing room, while cactuses need very well-draining soil that won’t keep their roots too wet. Review the types of soil mixtures that your specific plants will need.
A good tip is to add rocks or gravel to the bottom of each container. This will improve drainage and ensure that your plants don’t experience root rot.
Because container plants are removed from the carbon cycle, they will need regular doses of fertilizer. There are all-purpose fertilizers, or you can find specialized products for your specific plant species. When you repot the plant, you should also add some compost or bone meal to improve growth.
Purchase and Pot Your Plants
While you can grow many plants from seeds, mature plants or grafts will have a better chance of success because expert gardeners have already nurtured them. This is more expensive, but it also has a better chance of success.
Prepare your container ahead of time with a layer of soil before gently removing the plant from its old plastic pot. Tease out the roots so that they don’t get compacted in the old soil. Place the plant inside the new container, holding it upright, and then shovel in the new soil around it. After that, give it a bit of fertilizer and water before placing it in its new position of honor.
Be sure to note how often your plants require water. You can also buy automatic watering bulbs, which help reduce the chance that your plant will get dehydrated. With careful care and attention, you can be guaranteed a blooming garden full of gorgeous plants.


Leave a Reply