 Have you ever considered how the flooring would complement the overall look and feel of the home?
Selecting the appropriate flooring material is one thing, but installing it is another uphill task. Luxury Vinyl Tile (LVT) is one of the most acclaimed flooring materials, having risen to the forefront in contemporary society due to its attractiveness, strength, and cost-effectiveness.
Nevertheless, the most robust and fashionable flooring is not effective unless it is installed correctly. The good news, however, is that most of these things can be avoided with the appropriate knowledge and preparation.
Homeowners often overlook crucial details when it comes to proper subfloor preparation, as they fail to notice the seemingly insignificant aspects that can cause significant damage later on.
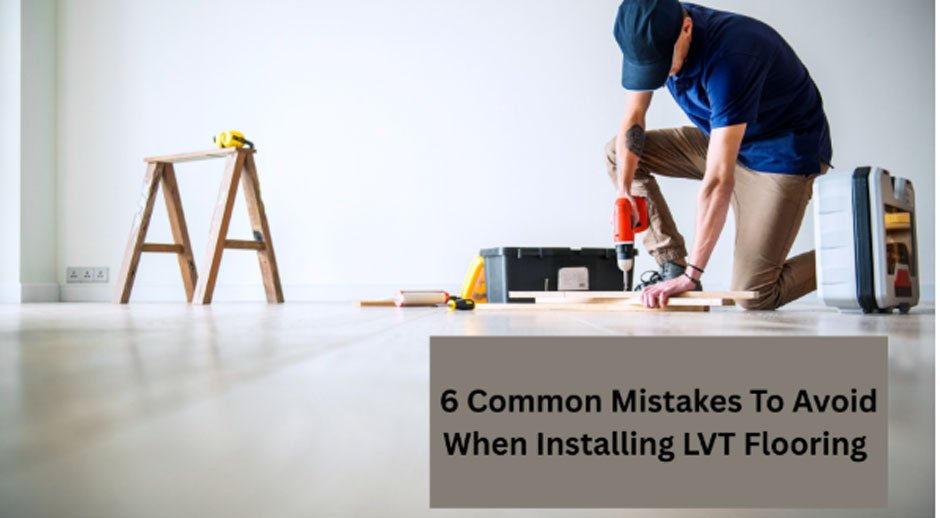
This guide will reveal the six most common mistakes in the LVT flooring installation process. We will show you how to get a perfect finish with the flooring that lasts a long time.
Overlooking Proper Subfloor Preparation
Underestimating the significance of the subfloor is one of the greatest errors that individuals commit when installing LVT flooring. Consider the subfloor as the base of your whole project; unless it is correct, the end product will never be appealing either.
Most residential owners believe that LVT is hard enough to conceal defects on the floor, but even the slightest defects in the foundation may cause apparent issues in the long term.
An uneven subfloor is not only aesthetically displeasing but also makes the planks move, separate or creak when they are stepped on. Dirt, dust, or any residues of old adhesive may serve as a barrier that prevents the planks from bonding together.
Worst still, the moisture may creep in and cause bubbling, warping, or molding, all of which can occur unnoticed under your new flooring. The answer is straightforward yet extremely important: be careful to provide your subfloor with the due attention.
Wipe and vacuum the area, clean up all the old glue and look for cracks or dips before installation. In case the floor is not straight, apply a leveling compound to even out the floor.
And never omit a moisture test, most particularly on concrete subfloors, in order to achieve long-term durability. It is important to have a clean, dry, and level base to ensure that your LVT flooring will not only appear seamless, but it will also last for years without any problems.
The Disregard of the Acclimation of Flooring Materials
The second thing that has not received much attention is acclimating the flooring planks. Similar to wood, LVT can expand and contract according to changes in room temperature and humidity.
When you lay it down out of the box, it will move after a couple of weeks, leaving gaps or buckling. Ideally, it is best practice to leave the unopened boxes of LVT in the room in which it is going to be installed for at least 48 hours.
This enables the flooring to adapt to the indoor environment, thus minimizing chances of expansion or contraction of the flooring once it is installed.
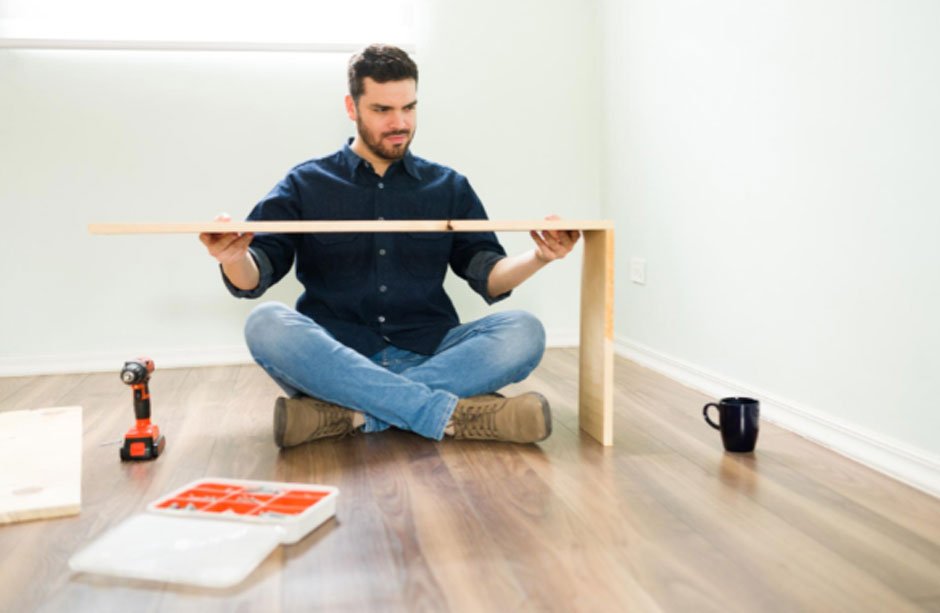
False Measures and Incisions
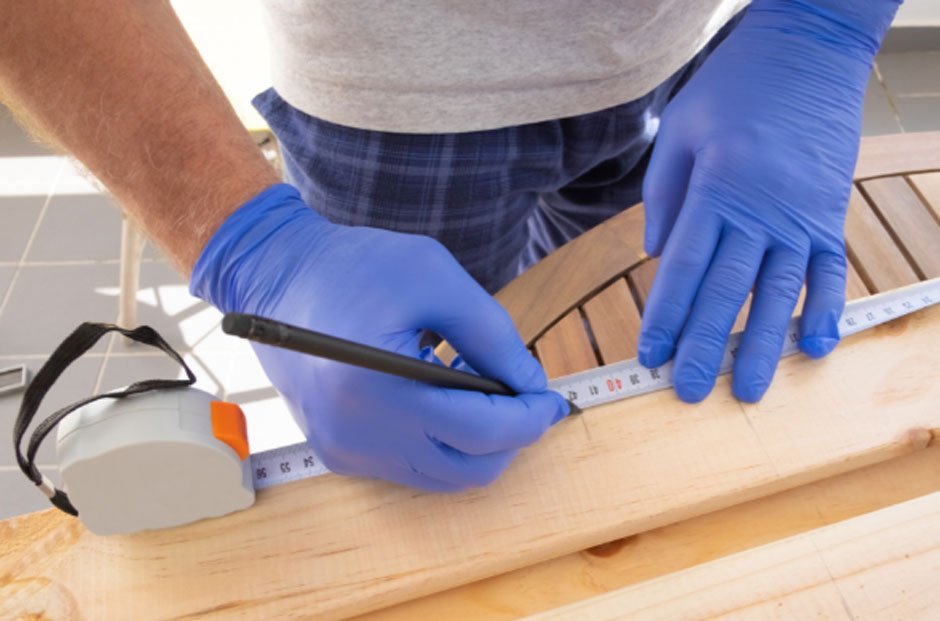
Accuracy is important in the installation of flooring. When you cut planks too short, or if the corners are not considered, or the sides are uneven, your floor may look devastating. This typically occurs in cases where homeowners rush during the measurements.
Hence, it’s important to measure twice and cut once. Cut using the appropriate tools, such as a utility knife or a vinyl cutter, to ensure a straight cut. It is advisable to plan your layout in advance so that you do not end up with skinny scraps of planks along the walls, which can be unprofessional.
Forgetting Expansion Gaps
Although LVT is more stable than hardwood, it still needs room to expand and contract. Most of the DIY installers commit the error of nailing the planks too close to the walls or fixed objects.
Your floor can even buckle or lift up, without expansion gaps. To ensure this is not the case, leave a small gap (usually 1/4 inch) around the room perimeter. The gap can be covered later with baseboards or molding, making your installation practical and appealing.
Use of the Improper Adhesive or Installation Method
Another common mistake is incorrect pasting or fitting, which compromises both durability and appearance.
It is always a good idea to read the manufacturer’s instructions before beginning. If your flooring requires adhesive, use the one specifically recommended for the particular LVT product.
In floating installations, clicking the planks to the right should be done to avoid openings or slack joins.
Failure to Provide Post-Installation Care
The laying down of the last plank does not put an end to the job. Most homeowners commit the error of bringing furniture in as soon as possible or neglecting to complete the finishing touches.
Placing heavy objects too fast may result in a dent, and dirt or grit may leave a scratch on the fresh surface. Instead, do not place furniture in the room earlier than 24 hours (or even longer in case of adhesive).
Place cushions on the legs of heavy furniture and maintain a simple cleaning routine to keep your floors always presentable. Failure to do so may significantly reduce the lifespan of your LVT flooring.
Conclusion
LVT flooring can help change the appearance and feel of your home, provided it is installed properly.
The time, money, and frustration of making common mistakes can be saved by avoiding inadequate subfloor prep, omitting acclimation, inaccurate measurements, forgetting expansion gaps, applying the wrong installation systems, and failing to maintain the work afterwards.
Through proper planning and consideration of your manufacturer’s recommendations, you will have a stylish and durable floor that will enhance the longevity of your space in the future.
You may be a DIY person or you may be employing the services of professionals; either way, each of these tips will help make your LVT flooring installation a success story.


Leave a Reply