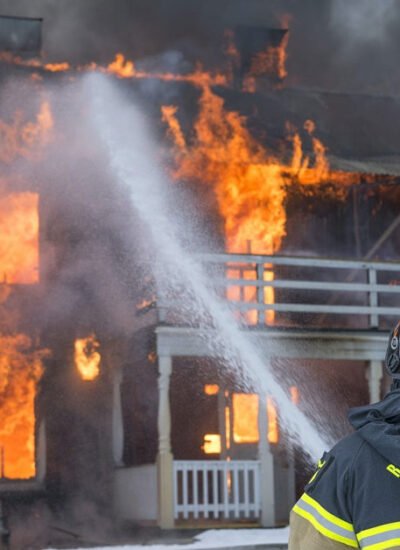
 A home fire can be one of the most overwhelming events a homeowner faces. Beyond the visible damage from flames, smoke can affect walls, furniture, clothing, and even the air quality inside the home. Once the fire is extinguished, filing a smoke damage insurance claim becomes one of the most important steps toward recovery. While the process may seem complicated in the aftermath of such an emotional event, knowing how to approach it can make things more manageable. We will explore a step-by-step guide on how to file a smoke damage insurance claim after a house fire.
Step-by-step guide on how to file a smoke damage insurance claim
Notify Your Insurance Company Right Away
The first thing homeowners need to do after the fire is notify their insurance company. Prompt communication is key because most policies require claims to be reported within a specific time frame. Once the fire department deems the property safe to enter, contact your insurer using their claims number or online portal. A claims representative typically opens a file and assigns an adjuster to your case. It’s important to provide initial details like your policy number, the date of the fire, and a brief description of the damage. Even if you’re unsure about the full extent of the smoke damage, starting the process early will get the timeline moving. Many insurers will also provide information on immediate next steps, such as how to document losses or whether temporary housing is covered under your policy. Getting this communication started early helps ensure there are no delays and that you stay within the requirements of your coverage. This contact lays the claim process’s foundation and helps both parties move forward with clarity.
Secure the Property and Prevent Further Damage
After the fire, your home may have broken windows, damaged doors, or compromised roofing that leaves it open to the elements or potential theft. Most insurance policies require the homeowner to take reasonable steps to prevent further damage. This means boarding windows, covering openings with tarps, or even turning off utilities to avoid water or electrical damage. If these steps are not taken, the insurer may argue that additional damage could have been avoided, affecting how much of the claim is paid out. Insurance providers sometimes recommend emergency restoration services to help secure the site. Keeping receipts for these services is essential because these costs are often reimbursable. It’s also important not to throw away damaged items, even if they seem ruined, as they may need to be examined by the adjuster. Take clear photos and note each item’s condition before taking any action. By securing your property and preserving evidence of damage, you are protecting your home and your ability to prove the full extent of your loss.
Document All Damage in Detail
Accurate documentation is one of the most important parts of filing a smoke damage insurance claim. Start by taking photographs and videos of every affected area in your home, even if the damage doesn’t appear severe. Smoke can leave behind invisible residue and odors, impacting surfaces, electronics, and air quality. It’s also essential to create an inventory list of all damaged items, including their approximate value, date of purchase, and condition before the fire. For high-value items like appliances or electronics, gather receipts or warranty documents supporting their worth. The more thorough you are, the easier your adjuster can assess your claim fairly. Don’t forget to include soft furnishings like curtains, bedding, and upholstered furniture, which are often significantly impacted by smoke, even if not touched by flames. Some insurance companies provide inventory forms to help with this process. Having everything well-organized helps avoid confusion, speeds up the claim’s processing, and ensures you are not underpaid for your losses.
Work closely with the Insurance Adjuster.
Once the Fire Smoke Damage Insurance Claim is filed and your damage is documented, the insurance company will typically send an adjuster to evaluate the situation in person. This adjuster will inspect the home, ask questions about the events leading up to the fire, and review the documented damage. While it’s their job to assess your claim, it’s also your responsibility to be as transparent and cooperative as possible during this phase. Walk through the house with them, provide your inventory list, and explain any damage that may not be immediately visible—such as lingering smoke odor or HVAC contamination. In some cases, smoke can damage air ducts, electrical wiring, or insulation, so don’t hesitate to point out potential hidden issues. If you’ve hired a contractor or restoration company, their estimate can also be provided to the adjuster for reference. Keeping communication open and organized helps avoid misunderstandings and lets the adjuster get a complete view of your situation. Their report will play a key role in determining how much your insurer is willing to pay out.
Review the Settlement Offer and Negotiate if Needed
Once the adjuster completes their evaluation, the insurance company will issue a settlement offer based on their findings. It is essential to review this offer carefully and compare it to your documentation and any contractor estimates you’ve received. You can dispute the offer if the settlement does not fully cover the losses or if items are undervalued. Contact your claims representative and prove why the offer should be reconsidered. This might involve sending additional photos, updated repair estimates, or statements from third-party professionals. Homeowners may hire a public adjuster to get an independent opinion or help with negotiations. Most insurance companies are open to reviewing additional information if it’s presented clearly and reasonably. Don’t feel pressured to accept a payout if you believe it does not reflect the actual value of your damage. A fair settlement should cover repairs, replacements, and any applicable living expenses without forcing you to incur additional financial burdens.
Filing a fire smoke damage insurance claim requires patience, preparation, and attention to detail. From contacting your insurer promptly to carefully documenting losses and navigating the claims process, each step plays a role in securing the compensation needed to recover.
By staying organized and actively participating in the process, homeowners can avoid common pitfalls and ensure that their claim reflects the full scope of their loss. With proper steps taken from the beginning, restoring your home becomes much more transparent and more manageable after a fire.


Leave a Reply